
This super easy Mexican picadillo ranchero is made with a combination of ground beef and pork, along with tender pieces of potato simmered in an onion, garlic, tomato, and serrano chile broth.

Picadillo is a comfort food classic in every Mexican kitchen whether you're in the US or Mexico! It's one of those Mexican recipes that varies from family to family. I have about six different picadillo recipes--including my suegra's Shredded Beef (de bistec) and my abuelito's Ground Beef Picadillo w/ Veggies--in my repertoire, and even then I'm always tweaking the recipes by either switching up the sauce or the veggies, so I never make my picadillo the same way twice. Except for this super easy picadillo ranchero with potatoes.

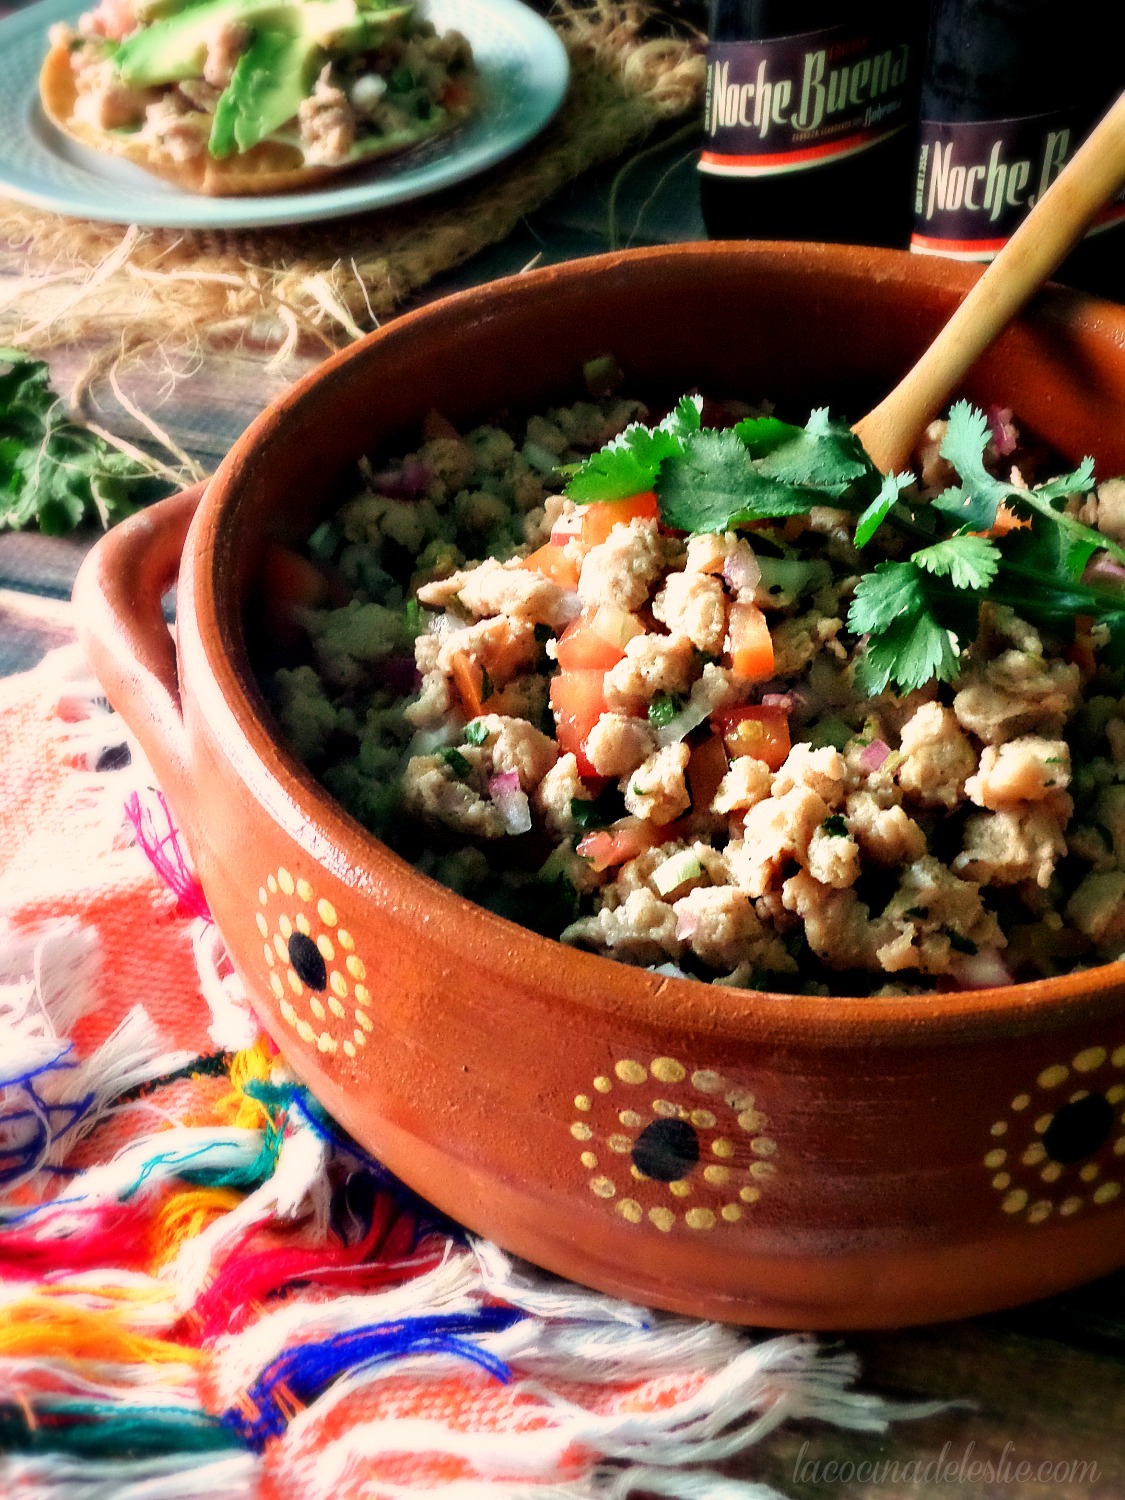
Picadillo ranchero, which really is the easiest picadillo ever, is one my suegra taught me how to make and it has always been one of my "go to" recipes for when I need to get lunch (our biggest meal of the day in Mexico) on the table. If you love simple, uncomplicated recipes, then this is the picadillo for you. You can serve picadillo ranchero on it's own with plenty of warm corn tortillas. Or you can serve it as a filling for tacos, burritos, tortas, sopes, gorditas, enchiladas, chiles rellenos, and even tamales. The possibilities are endless.

Mexican Picadillo
Picadillo is a comfort food classic in every Mexican kitchen whether you're in the US or Mexico! It's one of those Mexican recipes that varies from family to family. I have about six different picadillo recipes--including my suegra's Shredded Beef (de bistec) and my abuelito's Ground Beef Picadillo w/ Veggies--in my repertoire, and even then I'm always tweaking the recipes by either switching up the sauce or the veggies, so I never make my picadillo the same way twice. Except for this super easy picadillo ranchero with potatoes.Picadillo ranchero, which really is the easiest picadillo ever, is one my suegra taught me how to make and it has always been one of my "go to" recipes for when I need to get lunch (our biggest meal of the day in Mexico) on the table. If you love simple, uncomplicated recipes, then this is the picadillo for you. You can serve picadillo ranchero on it's own with plenty of warm corn tortillas. Or you can serve it as a filling for tacos, burritos, tortas, sopes, gorditas, enchiladas, chiles rellenos, and even tamales. The possibilities are endless.
Yield: 8 servings
Easy Picadillo Ranchero with Potatoes
This super easy Mexican picadillo ranchero is made with a combination of ground beef and pork, along with tender pieces of potato simmered in an onion, garlic, tomato, and serrano chile broth.
prep time: 10 MINScook time: 35 MINStotal time: 45 mins
ingredients:
- 4 roma tomatoes, cut in quarters
- 2 to 3 serrano chiles, stems removed
- 2 garlic cloves
- 1/2 medium white onion
- 2 cups water
- 2 tablespoons vegetable oil
- 1 lb. lean ground beef
- 1 lb. lean ground pork
- 5 medium potatoes, peeled and diced
- Fresh cilantro (optional)
instructions
- Puree the tomatoes, serrano chiles, garlic, onion, and water in a blender until smooth; set aside.
- Sauté the ground beef and pork in the vegetable oil over high heat until lightly browned; season with salt and black pepper.
- Stir in the potatoes and tomato puree; season generously with salt and black pepper to taste. Add in a couple of sprigs of fresh cilantro. Bring to a boil over high heat. Cover and reduce heat to low; let simmer for about 20 minutes until the potatoes are cooked through and almost all of the liquid has evaporated. Serve with warm corn or flour tortillas. Buen provecho!
©La Cocina de Leslie
Created using The Recipes Generator


 - lacocinadeleslie.com")


)
%20)
%20)